Havasu Falls Hike: Step-by-Step Trail Guide (2026)
The Havasu Falls hike is one of the most iconic backpacking experiences in the American Southwest. It’s long, hot, remote, and demanding—but the reward at the end is a series of unreal blue-green waterfalls hidden deep in the canyon. This is not a casual walk. It’s a 10-mile desert hike one way, with no water for most of the route and very little shade. If you’re planning this hike, preparation matters. Knowing what the trail is really like, when to start, how much water to carry, and what to expect along the way can make the difference between an unforgettable adventure and a miserable experience. In this guide, we focus only on the Havasu Falls hike itself—the trail, conditions, difficulty, and practical tips for 2026.
This article may contain affiliate / compensated links. For full information, please see our disclaimer here.
Our Experiences Hiking to Havasu Falls
Between us, we have hiked to Havasu Falls multiple times, in different seasons and conditions. Chris has completed this hike three times, including visits from before Havasu Falls became widely known. Together, we’ve experienced the trail with full backpacks, early-morning starts, cool autumn temperatures, and long desert miles under the sun.
That experience shapes how we approach this guide. We know where people struggle, what surprises first-timers, and which details are often skipped online. We’ve learned firsthand that this hike is not technically difficult, but it is physically demanding, especially because of heat, distance, and the climb back out of the canyon.
After three visits, we decided to create a complete Havasupai planning series, because no single article can responsibly cover everything. In this guide, we focus only on the hike itself. Once you’re ready to plan the rest of your trip, these articles will help you go deeper:
- Havasu Falls Permit Guide – how reservations work and what’s required before you arrive. You must have a permit to do this hike.
- Havasupai Waterfalls – a complete guide to all five waterfalls along Havasu Creek
- Havasu Falls Camping Guide & Rules – how the campground works and how to choose a good site
- Havasu Falls Packing List with a printable PDF checklist – what’s truly essential for the hike and camping
All photos used in this article are our own, taken during our trips to Havasu Falls. Everything you’ll read here is based on real experience. If you’re preparing for the Havasu Falls hike for the first time, this guide will help you understand what the trail is really like—and how to hike it safely and confidently.

Do You Need a Permit to Hike to Havasu Falls?
Yes. A permit is mandatory for everyone hiking to Havasu Falls. There are no exceptions, and day hiking is not allowed.
Havasu Falls is located on Havasupai Tribal land, and access is strictly controlled by the Tribe. Every visitor must have a valid reservation made in advance through the official Havasupai reservation system. You cannot hike the trail, enter Supai Village, or continue to the campground without an approved permit.
All permits include a minimum three-night stay, either at the campground or at Havasupai Lodge. Even if you plan to hike in and out faster, the three-night reservation is still required and cannot be shortened.
Permits are checked multiple times:
- during mandatory check-in in Peach Springs before the trailhead
- and again along the trail and in the village
If you arrive without a permit, you will be turned around.
Once your permit is secured, you can focus on preparing for the hike itself—which is where the real challenge begins.
Agnes’ Advice: Follow the official Havasupai Tribe–managed Facebook page for the most up-to-date information on trail conditions, weather alerts, and any last-minute changes before your hike.
Havasu Falls Hike Overview: Distance, Elevation, and Difficulty
Before committing to this hike, it’s important to understand what you’re signing up for. The Havasu Falls hike is long, exposed, and physically demanding, even though it is not technically difficult.
Distance
The hike from Hualapai Hilltop to Havasu Falls Campground is 10 miles one way (16 km).
Breakdown of distances:
- Hualapai Hilltop to Supai Village: 8 miles
- Supai Village to Havasu Falls Campground: 2 miles
- From the campground, additional hiking is required to reach other waterfalls
This means your full trip includes:
- 10 miles hiking in
- 10 miles hiking out
- extra miles exploring waterfalls like Mooney Falls and Beaver Falls
Elevation change
The trail drops nearly 2,000 feet from the trailhead into the canyon.
- Starting elevation at Hualapai Hilltop: about 5,200 feet
- Lowest point near the campground: about 2,900 feet
The most significant elevation loss happens in the first mile, which descends steeply via switchbacks. What feels manageable on the way down becomes the hardest part of the hike on the way back out.
Difficulty level
The Havasu Falls hike is best described as moderate to difficult.
- The trail is wide, well-defined, and easy to follow
- No climbing or scrambling is required to reach Havasu Falls
- The challenge comes from distance, heat, sun exposure, and weight of your pack
The hike out is consistently harder than the hike in, especially during warm weather. Most hikers find the final mile back to the trailhead to be the most exhausting part of the entire trip.
This is not a hike to underestimate. With good preparation, realistic expectations, and the right timing, it is absolutely achievable—but it demands respect.

Where to Stay the Night Before the Havasu Falls Hike
Staying near the trailhead the night before your hike is strongly recommended. The Havasu Falls hike starts early, and beginning the trail tired or after a long drive increases the risk of heat exhaustion and injury.
The trailhead is remote, and overnight sleeping at Hualapai Hilltop is not allowed. There are no services, no water, and no safe place to rest before the hike. In addition, all visitors must complete mandatory check-in at the Grand Canyon Caverns Inn near Peach Springs, about 66 miles from the trailhead, before starting the hike.
Best Towns to Stay Before the Hike
- Peach Springs – here is the hike check-in point and it’s the closest option to the trailhead, about 66 miles (1 hour 15 minutes) away
- Kingman – farther but offers more lodging, food, and services
- Seligman – a convenient Route 66 stop with limited lodging options
Wherever you stay, plan to leave very early—often before sunrise—to start the hike safely and avoid the heat. Arriving rested and organized makes a huge difference on this demanding desert hike.
Driving Distances From Major Cities
Many visitors fly into the Southwest and rent a car. These are realistic driving distances and times:
- Las Vegas, Nevada – about 225 miles, roughly 4.5 hours
- Phoenix, Arizona – about 260 miles, roughly 4.5–5.5 hours
- Flagstaff, Arizona – about 170 miles, roughly 3–3.5 hours
A standard 2WD rental car is sufficient. Always fill your gas tank before driving up Indian Road 18, as there are no services near the trailhead. If you’re exploring more of the state, our Arizona guide includes the best places, routes, and travel tips.
Where Does the Havasu Falls Hike Start?
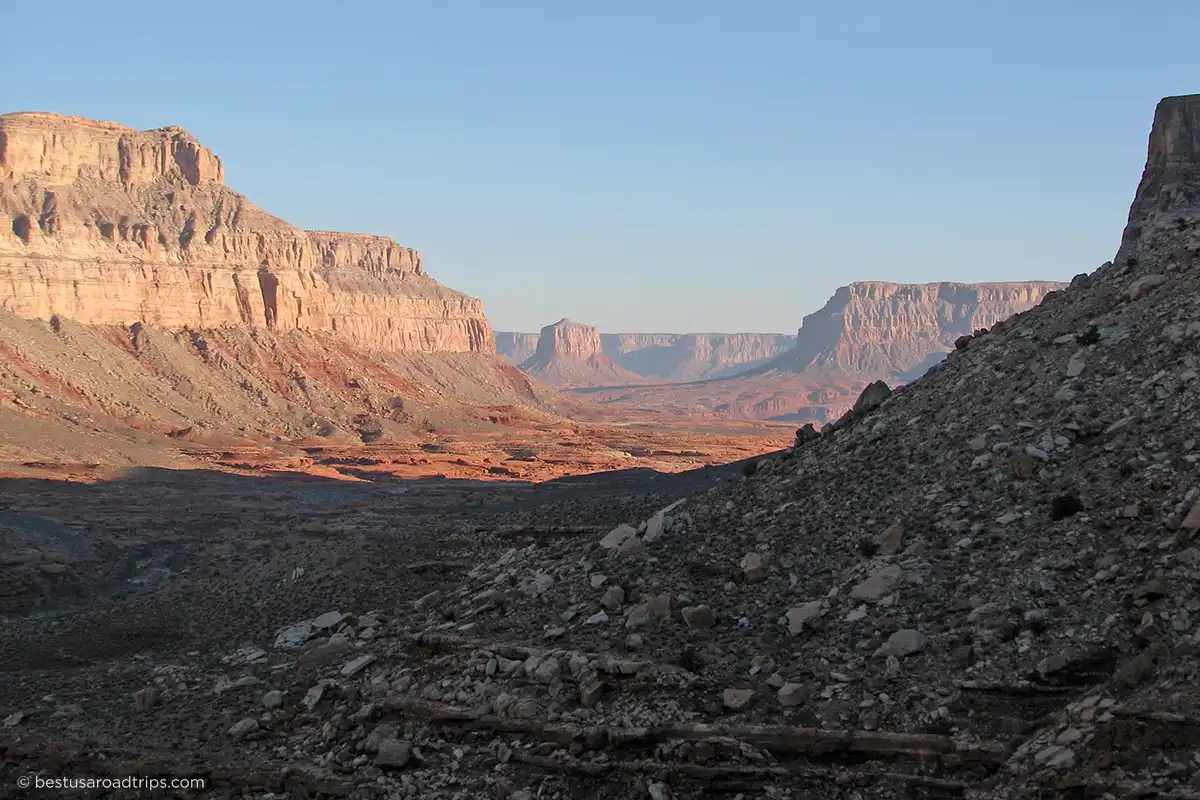
The Havasu Falls hike begins at Hualapai Hilltop, a remote trailhead located on the western edge of the Grand Canyon.
This trailhead sits on tribal land and is accessed via Indian Road 18 (BIA Road 18). The road is paved the entire way, but it is isolated, narrow in places, and wildlife crossings are common. Drive slowly, especially before sunrise and after dark.
Hualapai Hilltop Trailhead Basics
- Official starting point of the Havasu Falls hike
- Large dirt parking area near the edge of the canyon
- Restrooms are available
- No drinking water
- No shade
- No overnight car camping allowed
The trailhead is also used as a helipad for helicopter transport to and from Supai Village. Expect occasional helicopter activity throughout the day.
Because there are no services at the trailhead, you must arrive fully prepared. Fill your gas tank, buy food, and load all water before driving up Indian Road 18. Once you reach the hilltop, there is nowhere else to restock.
Parking is first come, first served. The lot is large, but it fills quickly on peak arrival days. The Havasupai Tribe does not assume responsibility for vehicles left at the trailhead, so do not leave valuables inside your car.

Mandatory Check-In Before the Havasu Falls Hike (2026 Rules)
Before you can start the Havasu Falls hike, check-in is mandatory for all visitors. You cannot go directly to the trailhead without completing this step.
Check-in Location
All visitors must check in at The Grand Canyon Caverns Inn, located at Mile Marker 115 on Route 66, near Peach Springs, Arizona.
This is the only official check-in location for Havasupai visitors.
Who Must Check-in
- The Trip Leader is responsible for checking in the entire group.
- The Trip Leader must present a valid photo ID.
- All group members must already have individual accounts on the official Havasupai reservations website.
- Only the Trip Leader must appear in person at the check-in location; other group members do NOT need to be present at check-in but must have their own accounts.
During check-in, the Trip Leader receives:
- wristbands
- bag tags
- official permit paperwork for all group members.
After check-in, all group members must wear their wristbands and carry their permit paperwork at all times, including at the trailhead and during the hike. These may be checked again at the reservation boundary checkpoint, along the trail, or in Supai Village.
Check-in Hours
The check-in desk is typically open daily from 6:00 am to 7:00 pm. Hours can change, so always confirm close to your travel dates.
When you can check in
You may check in:
- the day before your reservation starts, or
- any day during your reservation window
Late arrivals should note that exit dates do not change, even if you arrive late. Unused days are not refunded.
Documents required
Every group member must carry:
- proof of their individual account
- proof of the campground or lodge reservation
- valid photo ID
These documents must be accessible at all times while on Havasupai land.
Driving Time to the Trailhead
From the check-in location at the Grand Canyon Caverns Inn, it is about 66 miles to the Hualapai Hilltop trailhead, which takes approximately 1 hour and 15 minutes of driving under normal conditions.
After check-in, you can continue toward Indian Road 18 and the trailhead. Along the way, you will pass a reservation boundary checkpoint, where permits and documents may be checked again before you are allowed to proceed.
What the Havasu Falls Trail Is Like: Step by Step
The Havasu Falls hike is straightforward to follow, but it’s long and exposed. Knowing what each section looks like helps you pace yourself and avoid surprises.
Below is the Havasupai trail map from the official Havasupai Tribe site.

Switchbacks at the Trailhead
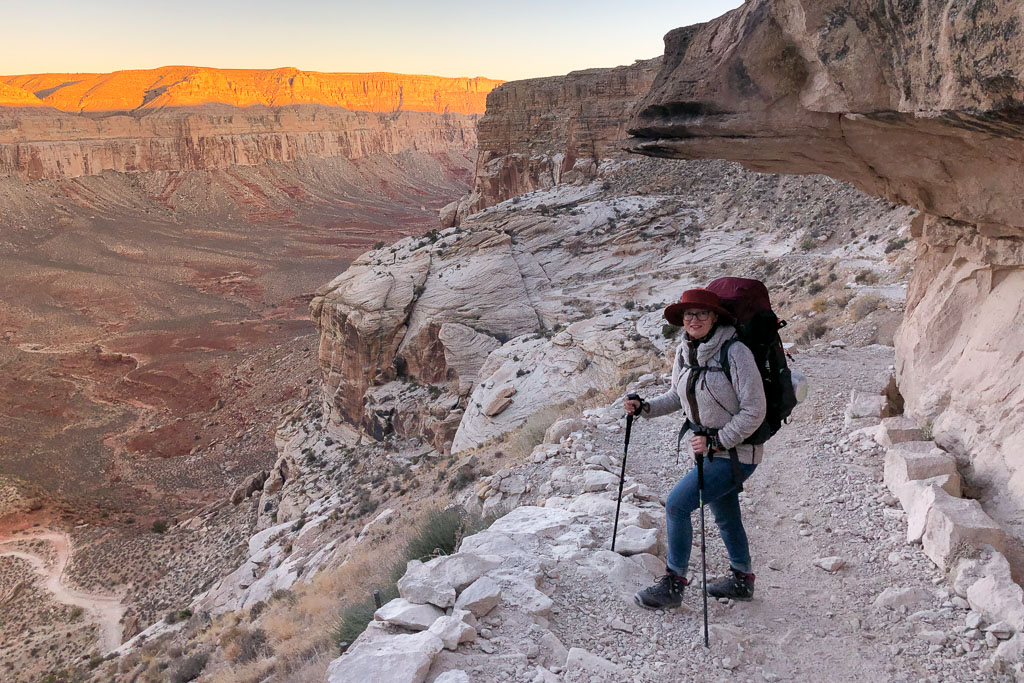
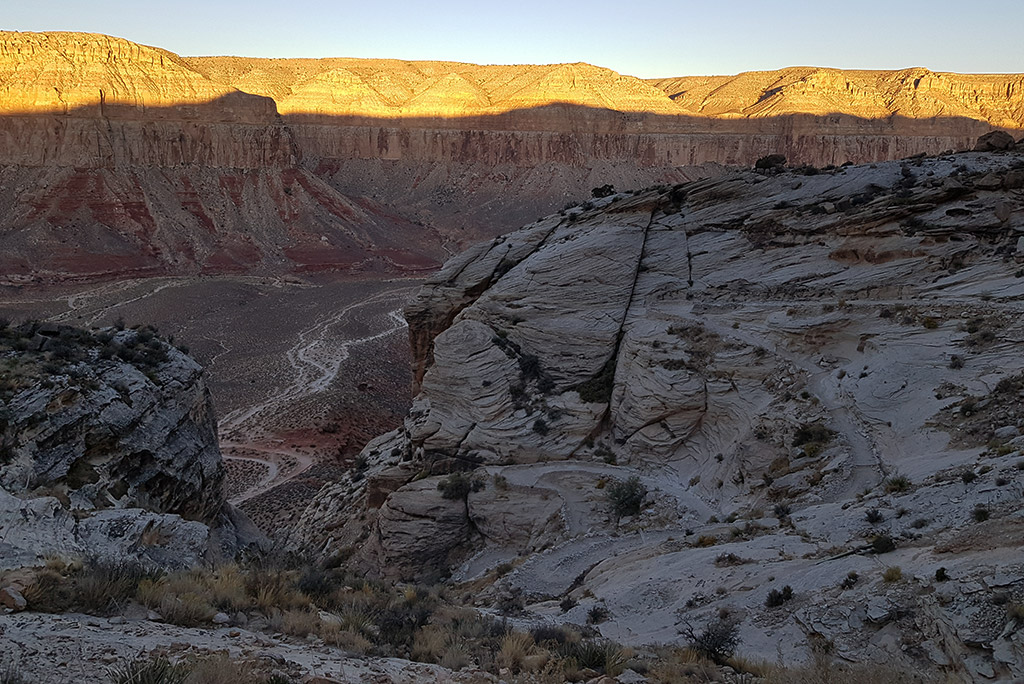
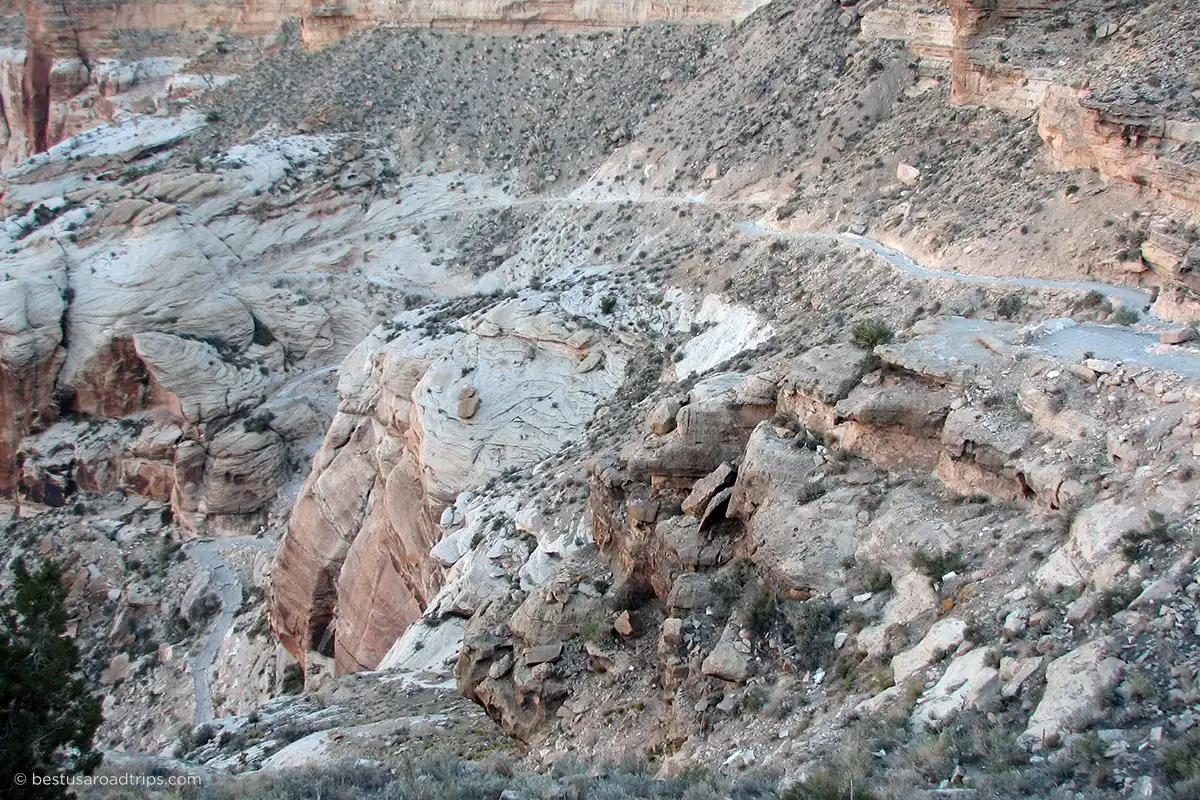
The hike begins immediately with a steep descent. From Hualapai Hilltop, the trail drops quickly into the canyon via a series of wide switchbacks.
This first mile is:
- the steepest part of the hike
- fully exposed to sun and wind
- the hardest section on the way back out
Starting early makes a big difference here. Hiking this section before sunrise is cooler and safer, especially in warmer months.
Canyon Descent and Dry Wash Hiking
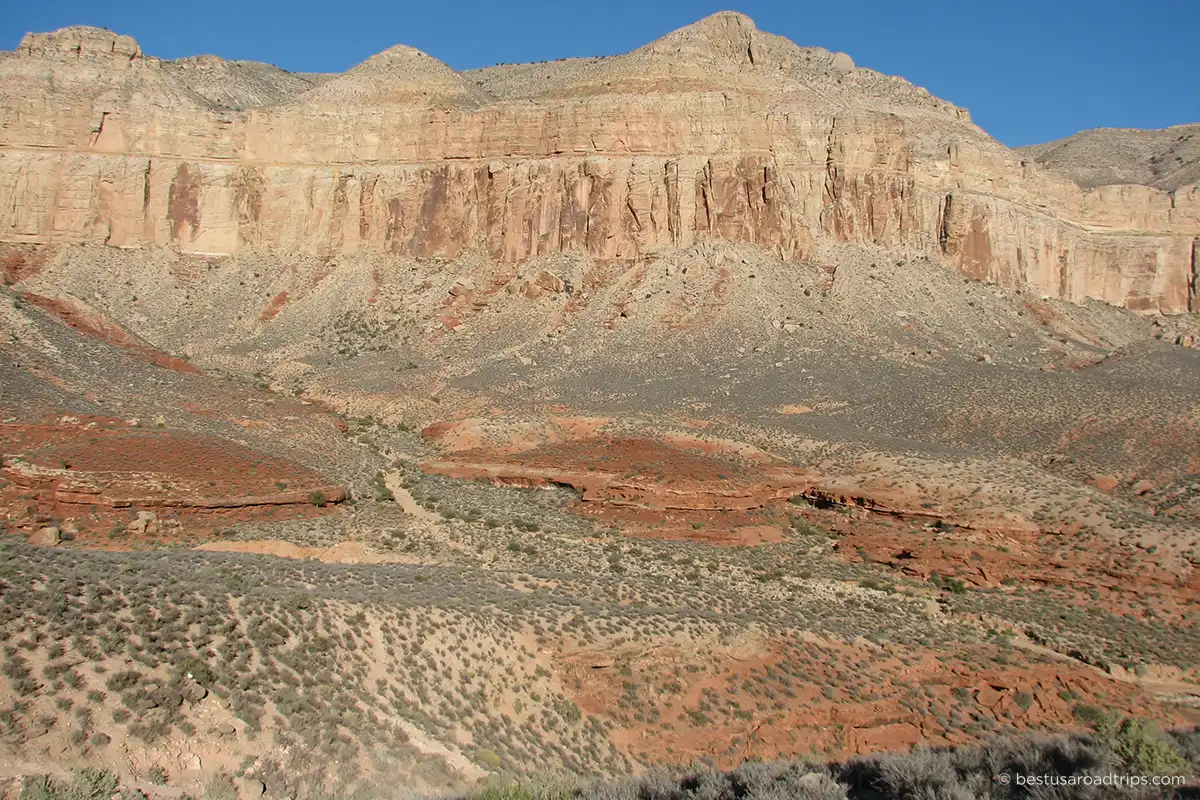
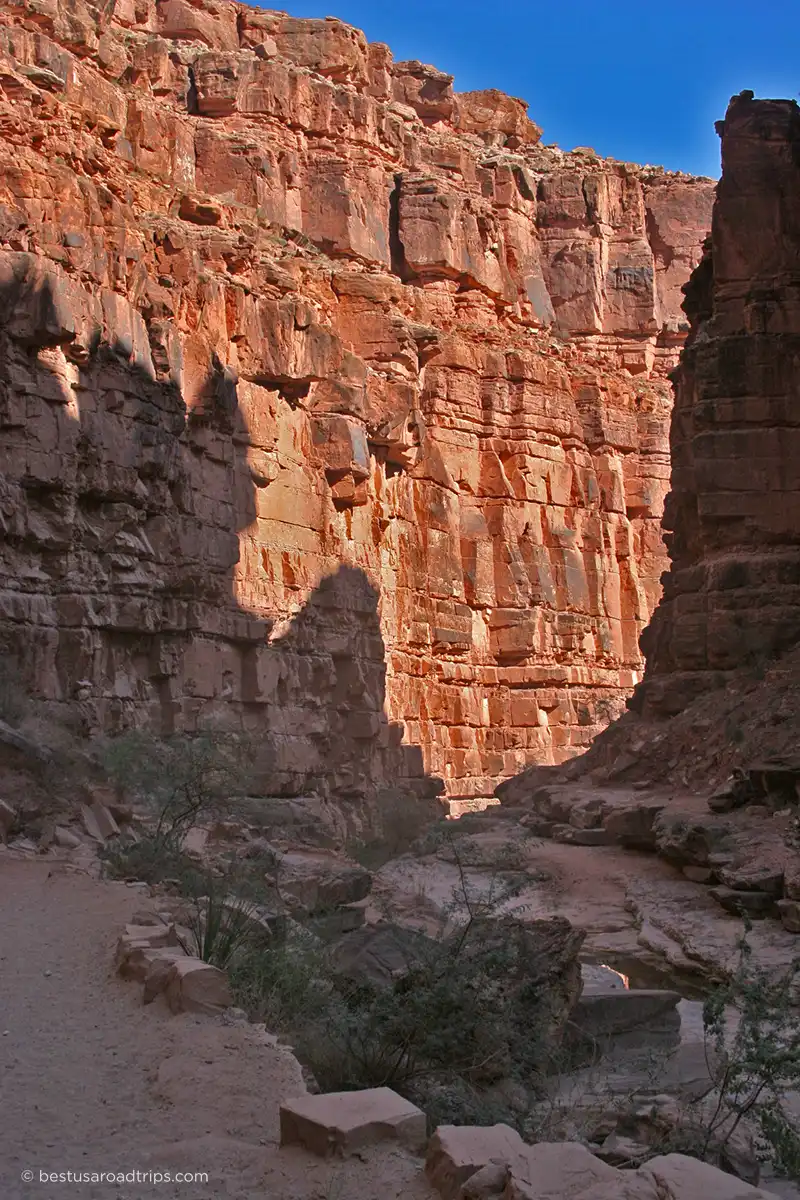
After the switchbacks, the trail levels out and enters a long, dry wash. This is the longest portion of the hike.
Expect:
- wide, sandy trail sections
- minimal shade
- steady, gradual walking
During monsoon season, this area can be dangerous. Dry washes are prime flash flood zones, so always check the weather forecast before hiking.
You may encounter pack mules along this section. Step aside calmly and give them space. Do not photograph them.

Approaching Supai Village
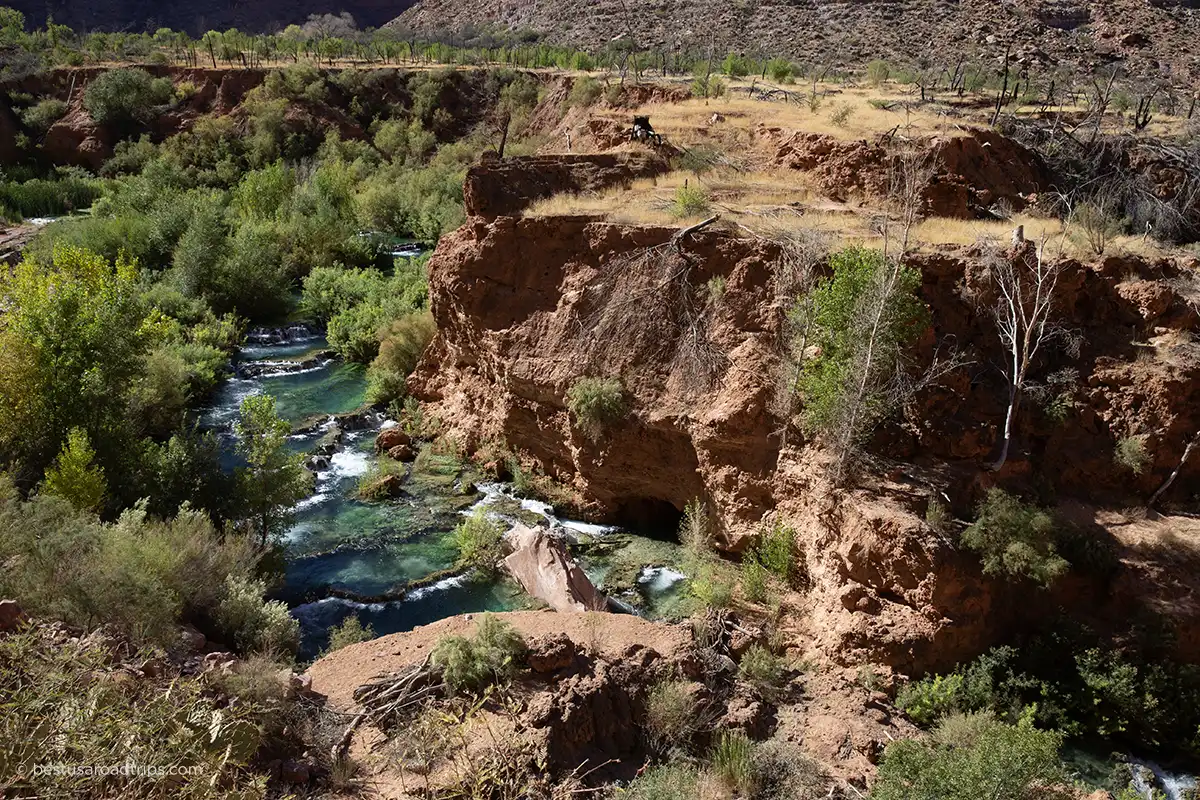
After several miles, the canyon begins to open up. Vegetation increases, and you’ll start to see the first signs of water and greenery.
About two miles before Supai Village, permits may be checked again by tribal staff on horseback. Have your documents ready and easily accessible.
As you near the village:
- shade becomes more frequent
- temperatures often feel noticeably cooler
- the landscape starts to feel like an oasis
Photography is not allowed in Supai Village. Respect the community and follow posted signs.

From Supai Village to Havasu Falls Campground
Once you pass through Supai Village, the trail continues another 2 miles to the campground. This section is easier and more scenic.
Along the way, you’ll pass:
- Fifty Foot Falls
- Little Navajo Falls
- the top of Havasu Falls
This is where the hike starts to feel rewarding. Cottonwood trees provide shade, and the sound of flowing water replaces the silence of the canyon.
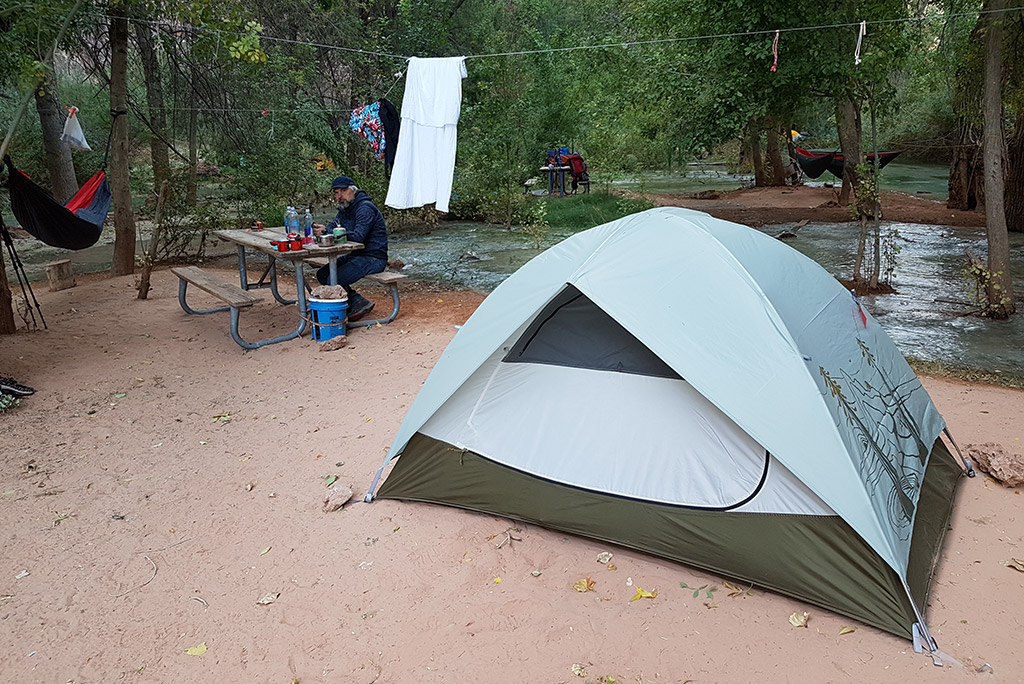
After crossing a few small bridges and following Havasu Creek, the trail leads directly into Havasu Falls Campground, where you’ll finally be able to rest, set up camp, and enjoy the waterfalls.

Water, Heat, and Weather on the Havasu Falls Hike
The biggest challenges on the Havasu Falls hike are heat, sun exposure, and lack of water. These factors matter far more than trail conditions or navigation.
No Water for the First 8 Miles
There is no drinking water between Hualapai Hilltop and Supai Village. For the first 8 miles, you are fully exposed and responsible for carrying all your water.
We recommend:
- at least 1 gallon of water per person for an early-morning start (plus electrolytes)
- more than 1 gallon if starting later or hiking in warm conditions (plus electrolytes)
Using a hydration reservoir makes it easier to sip regularly. Dehydration happens quickly in the desert, even when temperatures feel mild.
Best Time of Day to Start the Hike
Starting early is critical.
- In summer, begin before sunrise (4am-5am)
- In late fall and spring, start as early as possible (no later than 8am)
Early starts:
- reduce heat exposure
- make the switchbacks safer
- increase your chances of reaching camp before peak temperatures
We always prepare packs the night before so we can leave without delays.
Temperature Extremes
Daytime temperatures regularly exceed 100°F in summer. Even in cooler months, temperature swings between day and night can be significant.
Expect:
- chilly mornings
- hot midday conditions
- cooler temperatures again near the creek
Layering is important, especially for early starts.
Monsoon Season and Flash Flood Risk
Monsoon season typically runs from July through August. During this time:
- flash floods are possible
- storms may occur far upstream
- dry washes can fill quickly
Always check the forecast before hiking and avoid starting if storms are predicted. Clear skies at the trailhead do not guarantee safe conditions in the canyon.
Water Near the Campground
Once you reach the campground, drinking water is available from Fern Spring, located near the upstream end of the campground. Treat or filter water if needed, and plan to refill once or twice daily rather than making frequent trips.
Managing water and heat properly is essential for a safe hike.

What to Pack for the Havasu Falls Hike
Packing correctly for the Havasu Falls hike is essential. This is a long desert hike with full sun exposure, limited shade, and no water for most of the route. Overpacking will slow you down, but underpacking can put you at risk.
This section focuses only on hiking essentials. Full camping gear, food planning, and campsite setup are covered in our dedicated packing and camping guides.
Water Capacity Is Non-Negotiable
Water is the single most important item you’ll carry.
Plan for:
- a large hydration reservoir (at least one gallon or 3–4 liters)
- extra bottles if needed, depending on conditions
Being able to sip water continuously matters more than stopping occasionally to drink. Dehydration happens fast on this trail.
Electrolytes are just as important as water. Sweating heavily in the desert causes rapid loss of salt and minerals, which water alone does not replace. We always carry electrolyte tablets or powder and add them to our water throughout the hike.
This helps prevent cramps, dizziness, and fatigue, especially during hot weather and on the climb back out. Drinking only plain water for hours can actually increase the risk of dehydration symptoms, so plan to balance both water and electrolytes during the hike.
Footwear That Can Handle Distance and Heat
Choose footwear you trust for long miles:
- lightweight hiking boots or trail shoes with good traction
- broken in before the trip
- breathable but supportive
Many hikers switch to water shoes or sandals at camp, but closed-toe hiking footwear is best for the trail.
Sun and Heat Protection
The trail offers very little shade for most of the hike.
Bring:
- wide-brim hat or cap with neck coverage
- sunglasses
- sunscreen
- lightweight long-sleeve shirt for sun protection
Covering up often works better than relying on sunscreen alone.
Trekking Poles and Stability
Trekking poles are extremely helpful:
- on the steep switchbacks
- when hiking with a loaded pack
- during the long climb out
They reduce strain on knees and improve balance, especially in the heat.
Headlamp or Flashlight
Early starts are strongly recommended, especially in warmer months. A headlamp keeps your hands free and helps you navigate the switchbacks safely before sunrise.
Do not rely on a phone flashlight.
Small but Important Extras
Also consider packing:
- electrolytes or salt tablets
- snacks that are easy to eat while walking
- blister prevention or basic first aid
- lightweight gloves if using trekking poles
Packing smart makes the hike safer and more enjoyable.
For a complete breakdown of camping gear, clothing, food, and multi-day backpacking essentials, see our Havasupai Packing List, where we explain exactly what we bring and why.
How Long Does the Havasu Falls Hike Take?
How long the Havasu Falls hike takes depends on your pace, pack weight, weather, and experience. Most hikers underestimate the time, especially for the hike out of the canyon.
Hiking In: Trailhead to Campground
For the hike down to Havasu Falls Campground, most people need:
- 4–5 hours for strong, experienced hikers
- 5–6 hours for average hikers with backpacks
- 6–7 hours for slower hikers or during warmer conditions
The descent feels easier at first because it’s mostly downhill, but the distance adds up quickly. Heat and sun exposure can slow your pace more than expected.
We typically plan for a relaxed pace, frequent water breaks, and arrival at camp with enough energy left to set up comfortably.
Hiking Out: Campground to Trailhead
The hike back out is significantly harder.
Most hikers take:
- 6–8 hours to hike out
- sometimes longer in hot weather
Why it feels harder:
- the entire elevation gain happens on the way out
- the steep switchbacks are at the very end
- fatigue accumulates from previous days of hiking and swimming
The final mile is the toughest part. There is no shade, and it often comes during the hottest part of the day if you start late.
Plan Conservatively
Always plan for extra time:
- start early, especially on exit day
- avoid rushing
- listen to your body
Finishing slower than expected is normal on this trail. Planning conservatively helps you stay safe and reduces stress.

Safety Tips for Hiking to Havasu Falls
The Havasu Falls hike is safe when approached with preparation and common sense. Most problems happen when hikers underestimate the heat, distance, or remoteness of the canyon.
No Medical Services
There are no hospitals or clinics along the trail or at the campground. Emergency response is limited, and evacuation can take many hours. Because of this, travel and evacuation insurance is strongly recommended.
Carry a basic first aid kit and treat small issues early. Blisters, dehydration, and heat exhaustion are the most common problems.
Heat and Dehydration Awareness
Heat is the biggest risk on this hike.
- drink water and electrolytes regularly
- don’t wait until you feel thirsty
- take breaks in shade when possible
If you feel dizzy, nauseous, or unusually fatigued, stop and cool down.
Trail Etiquette and Pack Mules
Pack mules use the same trail.
- step aside calmly
- give them space
- never try to pass them on narrow sections
Do not photograph mules or interfere with their movement.
Footing and Terrain
The trail is well-defined, but loose gravel, sand, and rocks can cause slips.
- watch your footing, especially on switchbacks
- trekking poles help with balance
- avoid rushing, especially early or late in the day
Flash Flood Awareness
During monsoon season, flash floods can occur even if skies are clear overhead.
- check the forecast before hiking
- avoid dry washes during storms
- never ignore weather warnings
Pace Yourself
This is not a race. Start early, move steadily, and conserve energy for the hike out. Many injuries happen on exit day due to fatigue.
Taking a cautious, prepared approach allows you to enjoy the hike and arrive at Havasu Falls safely.
Can You Avoid Hiking to Havasu Falls?
Hiking is the most common and reliable way to reach Havasu Falls, but it is not the only option. Depending on your health, fitness level, or circumstances, there are limited alternatives. Each comes with important trade-offs.
Helicopter to Supai Village
Helicopter service operates between Hualapai Hilltop and Supai Village. It does not fly directly to the campground.
Key things to know:
- helicopter rides are first come, first served
- no reservations are possible
- flights are weather-dependent
- tribal members receive priority
If space is available, visitors may be boarded after tribal members. This can mean long waits or no flight at all on a given day.
The helicopter takes you only to Supai Village. From there, you still need to hike 2 miles to Havasu Falls Campground.
Because service is unpredictable, we don’t recommend relying on the helicopter as your primary plan unless you have medical or serious mobility limitations.
Pack Mules for Gear Transport
Pack mules can be hired to transport gear between the trailhead and the campground. This service must be arranged in advance through the official Havasupai reservation system.
We personally do not recommend using pack mules unless it is absolutely necessary. Over the years, we’ve seen overloaded animals struggling in extreme heat, often carrying gear for young, healthy hikers who could carry lighter packs themselves.
If you pack thoughtfully and bring only essentials, the hike is manageable for most people. Our Havasupai Packing List focuses on minimizing weight while staying safe and comfortable.
Why Hiking Is Still the Best Option
For most visitors, hiking remains the most dependable and respectful way to reach Havasu Falls.
- you control your pace
- you aren’t dependent on flight availability
- you experience the full canyon journey
With proper preparation, early starts, and realistic expectations, the hike is challenging but achievable—and deeply rewarding.

First Views of Havasu Falls and Arrival at the Campground
After hours of hiking through dry canyon walls and desert terrain, the first sight of water feels unreal. Shade increases, the air cools, and the sound of flowing water replaces the quiet of the trail. This is the moment when the effort finally pays off.
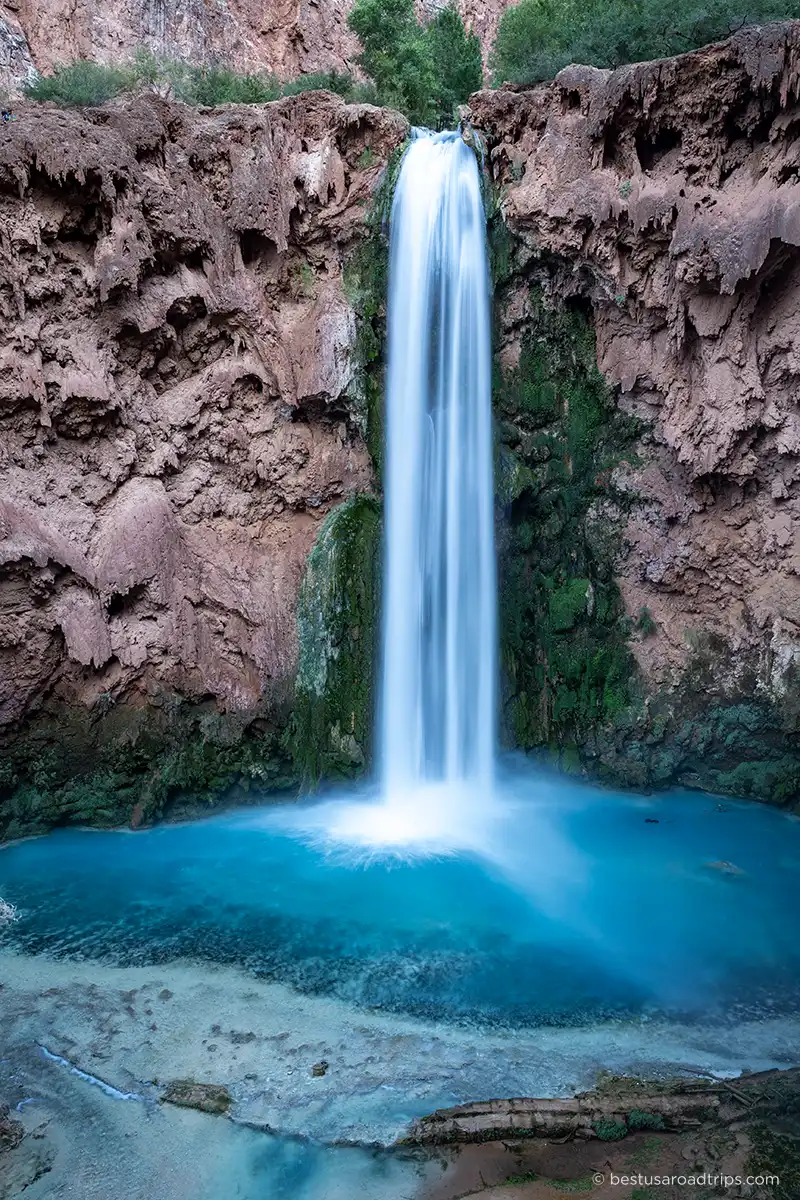
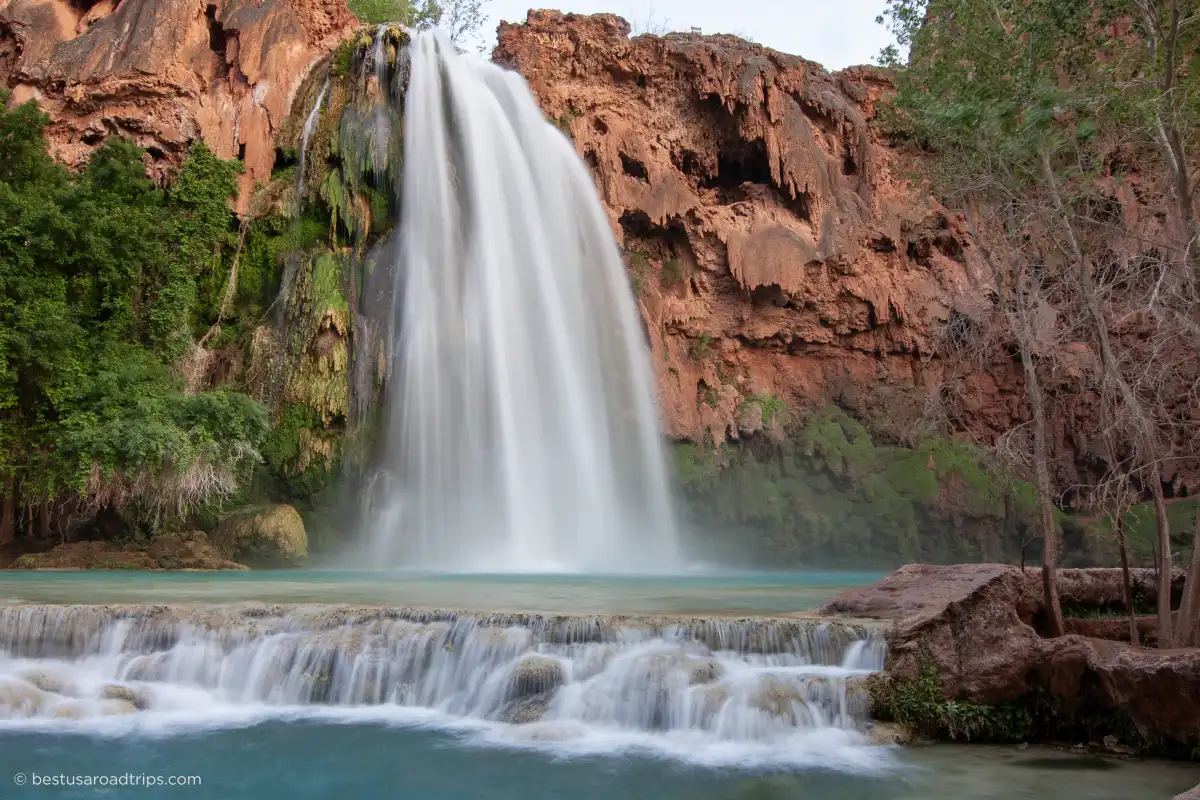
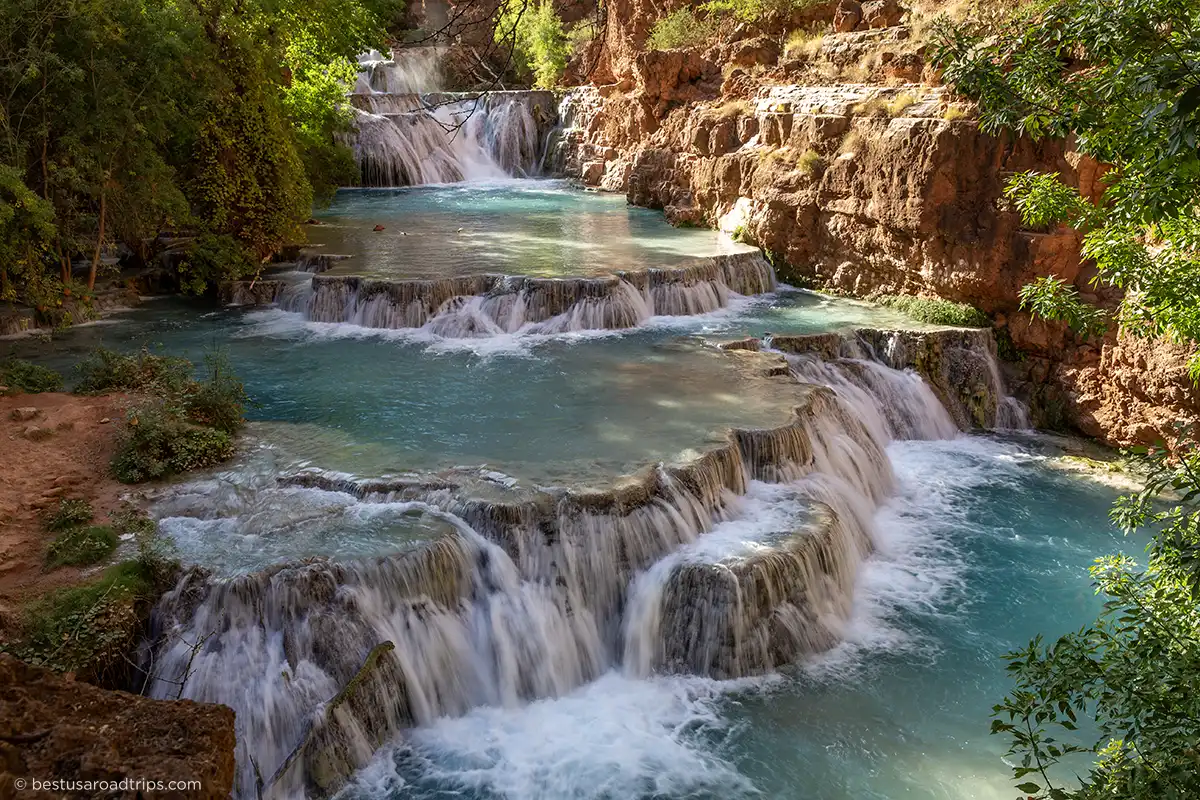
Just past Supai Village, you’ll pass Fifty Foot Falls and Little Navajo Falls, both beautiful in their own right. Shortly after, the trail brings you to the top of Havasu Falls. From here, the vivid blue-green water drops over travertine cliffs into a series of pools below. Even from above, it’s clear why this place is so famous.
From the main viewpoint, it’s only a short walk—about five minutes—to the campground entrance. A handrail lines part of the path near the falls, and this is a popular photo spot. Be mindful of other hikers and take your time. The terrain here can be slippery.
Once you enter Havasu Falls Campground, the trail opens into a long, shaded area stretching along both sides of Havasu Creek. The campground runs for more than half a mile, with plenty of space to spread out. There are no assigned campsites, so you’re free to walk through and choose a spot that feels right.
Most hikers take a short break before setting up camp:
- refill water at Fern Spring
- cool off in the creek
- eat a snack and rest
This is a good time to slow down and let your body recover from the hike. You’ve made it.

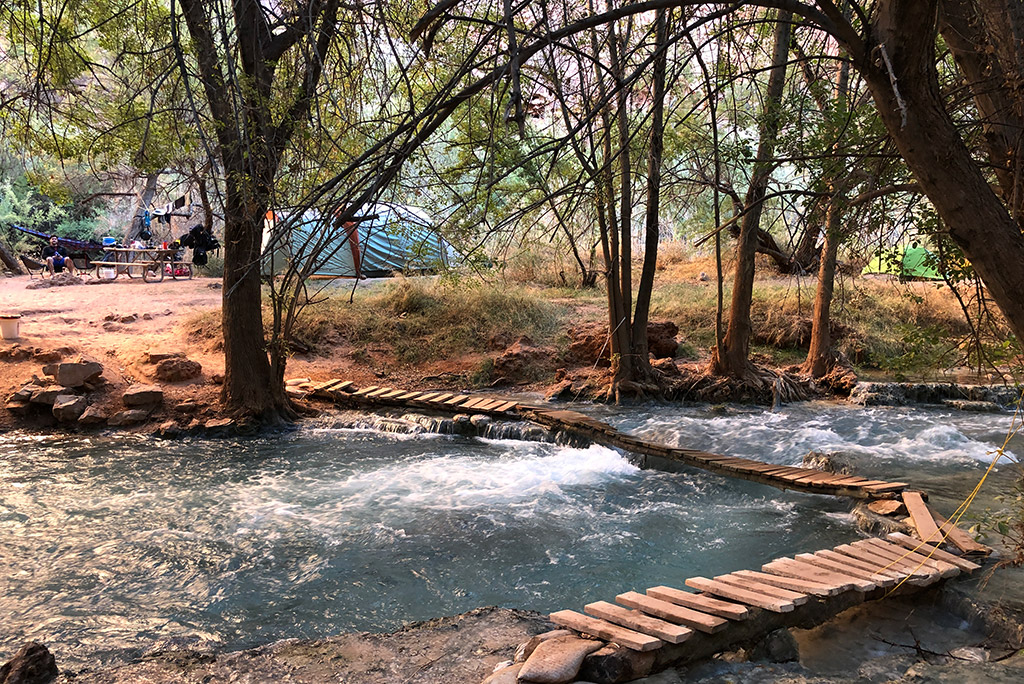
Choosing a campsite, understanding campground layout, and following camping rules are important next steps. We cover all of that in detail in our Havasu Falls Camping Guide, so you can settle in comfortably and start enjoying your time in this desert oasis.
From Havasu Falls Campground, you can hike to Mooney Falls and Beaver Falls, but we strongly recommend saving these hikes for a rest day after your first night at camp and reviewing our detailed guides for each location before heading out.
Final Thoughts
The Havasu Falls hike is demanding, remote, and unforgettable. It’s not a hike you should attempt on impulse. Distance, heat, and limited access mean that preparation matters just as much as fitness.
If you start early, manage your water and electrolytes, pack smart, and respect the land, this hike becomes a rewarding journey rather than a struggle. The trail itself is not technical, but the environment is unforgiving. That contrast is what makes reaching Havasu Falls feel so special.
For us, every hike to Havasu Falls has reinforced the same lesson: slow down, plan carefully, and give yourself time to enjoy the experience. The canyon, the water, and the quiet moments at camp are just as important as the destination itself.
If you’re willing to put in the effort and follow the rules set by the Havasupai Tribe, the hike to Havasu Falls will stay with you long after you leave the canyon.
Do You Like It? Pin It For Later!